A Simple Guide to Collecting, Drying, and Storing Seeds from Your Garden for Future Use
Saving seeds from your garden is not only a cost-effective way to grow your plants year after year, but it’s also a satisfying way to preserve the plants you love. Seed saving is an ancient gardening practice that allows you to carry on the legacy of your best plants, whether it’s your juiciest tomatoes, most fragrant flowers, or hardy herbs.
For beginners, seed saving might seem a little intimidating, but it’s actually quite simple with the right steps. This guide will walk you through the process of collecting, drying, and storing seeds so you can use them to plant in future seasons. By learning these skills, you’ll become a more self-reliant gardener and can even share seeds with friends or your local gardening community.
Let’s dive into the basics of seed saving and set you up for a successful gardening season next year!
Why Save Seeds?
Before we get into the steps, let’s briefly explore why seed saving is such a valuable skill for gardeners.
1. Save Money: By saving seeds from your current plants, you won’t have to purchase new seeds each year, cutting down on gardening costs.
2. Preserve Plant Varieties: If you have a favorite plant with unique characteristics—whether it’s a particularly flavorful vegetable or a beautiful flower—you can ensure its traits are preserved by saving seeds.
3. Adapted Plants: Plants grown from saved seeds are often better adapted to your local environment. Over time, the seeds you save can produce plants that are more resilient to your specific growing conditions.
4. Sustainability: Seed saving reduces waste and supports biodiversity by preserving a wider range of plant varieties.
Getting Started with Seed Saving: What You Need to Know
Seed saving isn’t a one-size-fits-all process. The way you collect and store seeds will depend on the type of plant and the type of seed it produces. However, most seeds can be saved using a few basic techniques.
Here are a few key terms to know before you start:
1. Open-Pollinated Seeds: These seeds are pollinated naturally, either by wind, insects, or self-pollination. The seeds you save from these plants will produce plants that are genetically similar to the parent plant.
2. Hybrid Seeds: Seeds from hybrid plants may not produce offspring that are true to the parent plant. If you save seeds from hybrids, the next generation may have unpredictable traits. It’s best to save seeds from open-pollinated or heirloom plants if you want consistency.
3. Annuals vs. Perennials: Annual plants complete their life cycle in one season, making them good candidates for seed saving. Perennials come back year after year but can also produce seeds you can save.
Step-by-Step Guide to Saving Seeds
Step 1: Select the Right Plants
Not every plant is ideal for seed saving. You want to choose healthy, vigorous plants that have desirable traits, such as high yields, good flavor, or disease resistance. For example, if you’re saving seeds from a tomato plant, choose the best-performing plant with the tastiest tomatoes.
Avoid saving seeds from diseased or weak plants, as these traits can be passed on to future generations. If you’re working with hybrid plants, keep in mind that their seeds may not produce identical plants next season.
Step 2: Know When to Harvest Seeds
Timing is crucial when it comes to harvesting seeds. You want to allow the seeds to fully mature on the plant before collecting them. Immature seeds won’t germinate well, so it’s important to wait for the right moment.
Here’s how to know when seeds are ready to collect:
a. Vegetables: For plants like tomatoes, peppers, and cucumbers, wait until the fruit is fully ripe or even slightly overripe before collecting seeds.
b. Flowers: Allow flower heads to dry completely on the plant before harvesting the seeds. Once the petals have fallen off and the seed heads are brown and dry, they’re usually ready.
c. Herbs: Like flowers, many herbs will produce seeds in dry seed heads. Allow these seed heads to dry on the plant before collecting.
Step 3: Collect the Seeds
Once your seeds are mature, it’s time to collect them. Here’s a general method for collecting seeds from different types of plants:
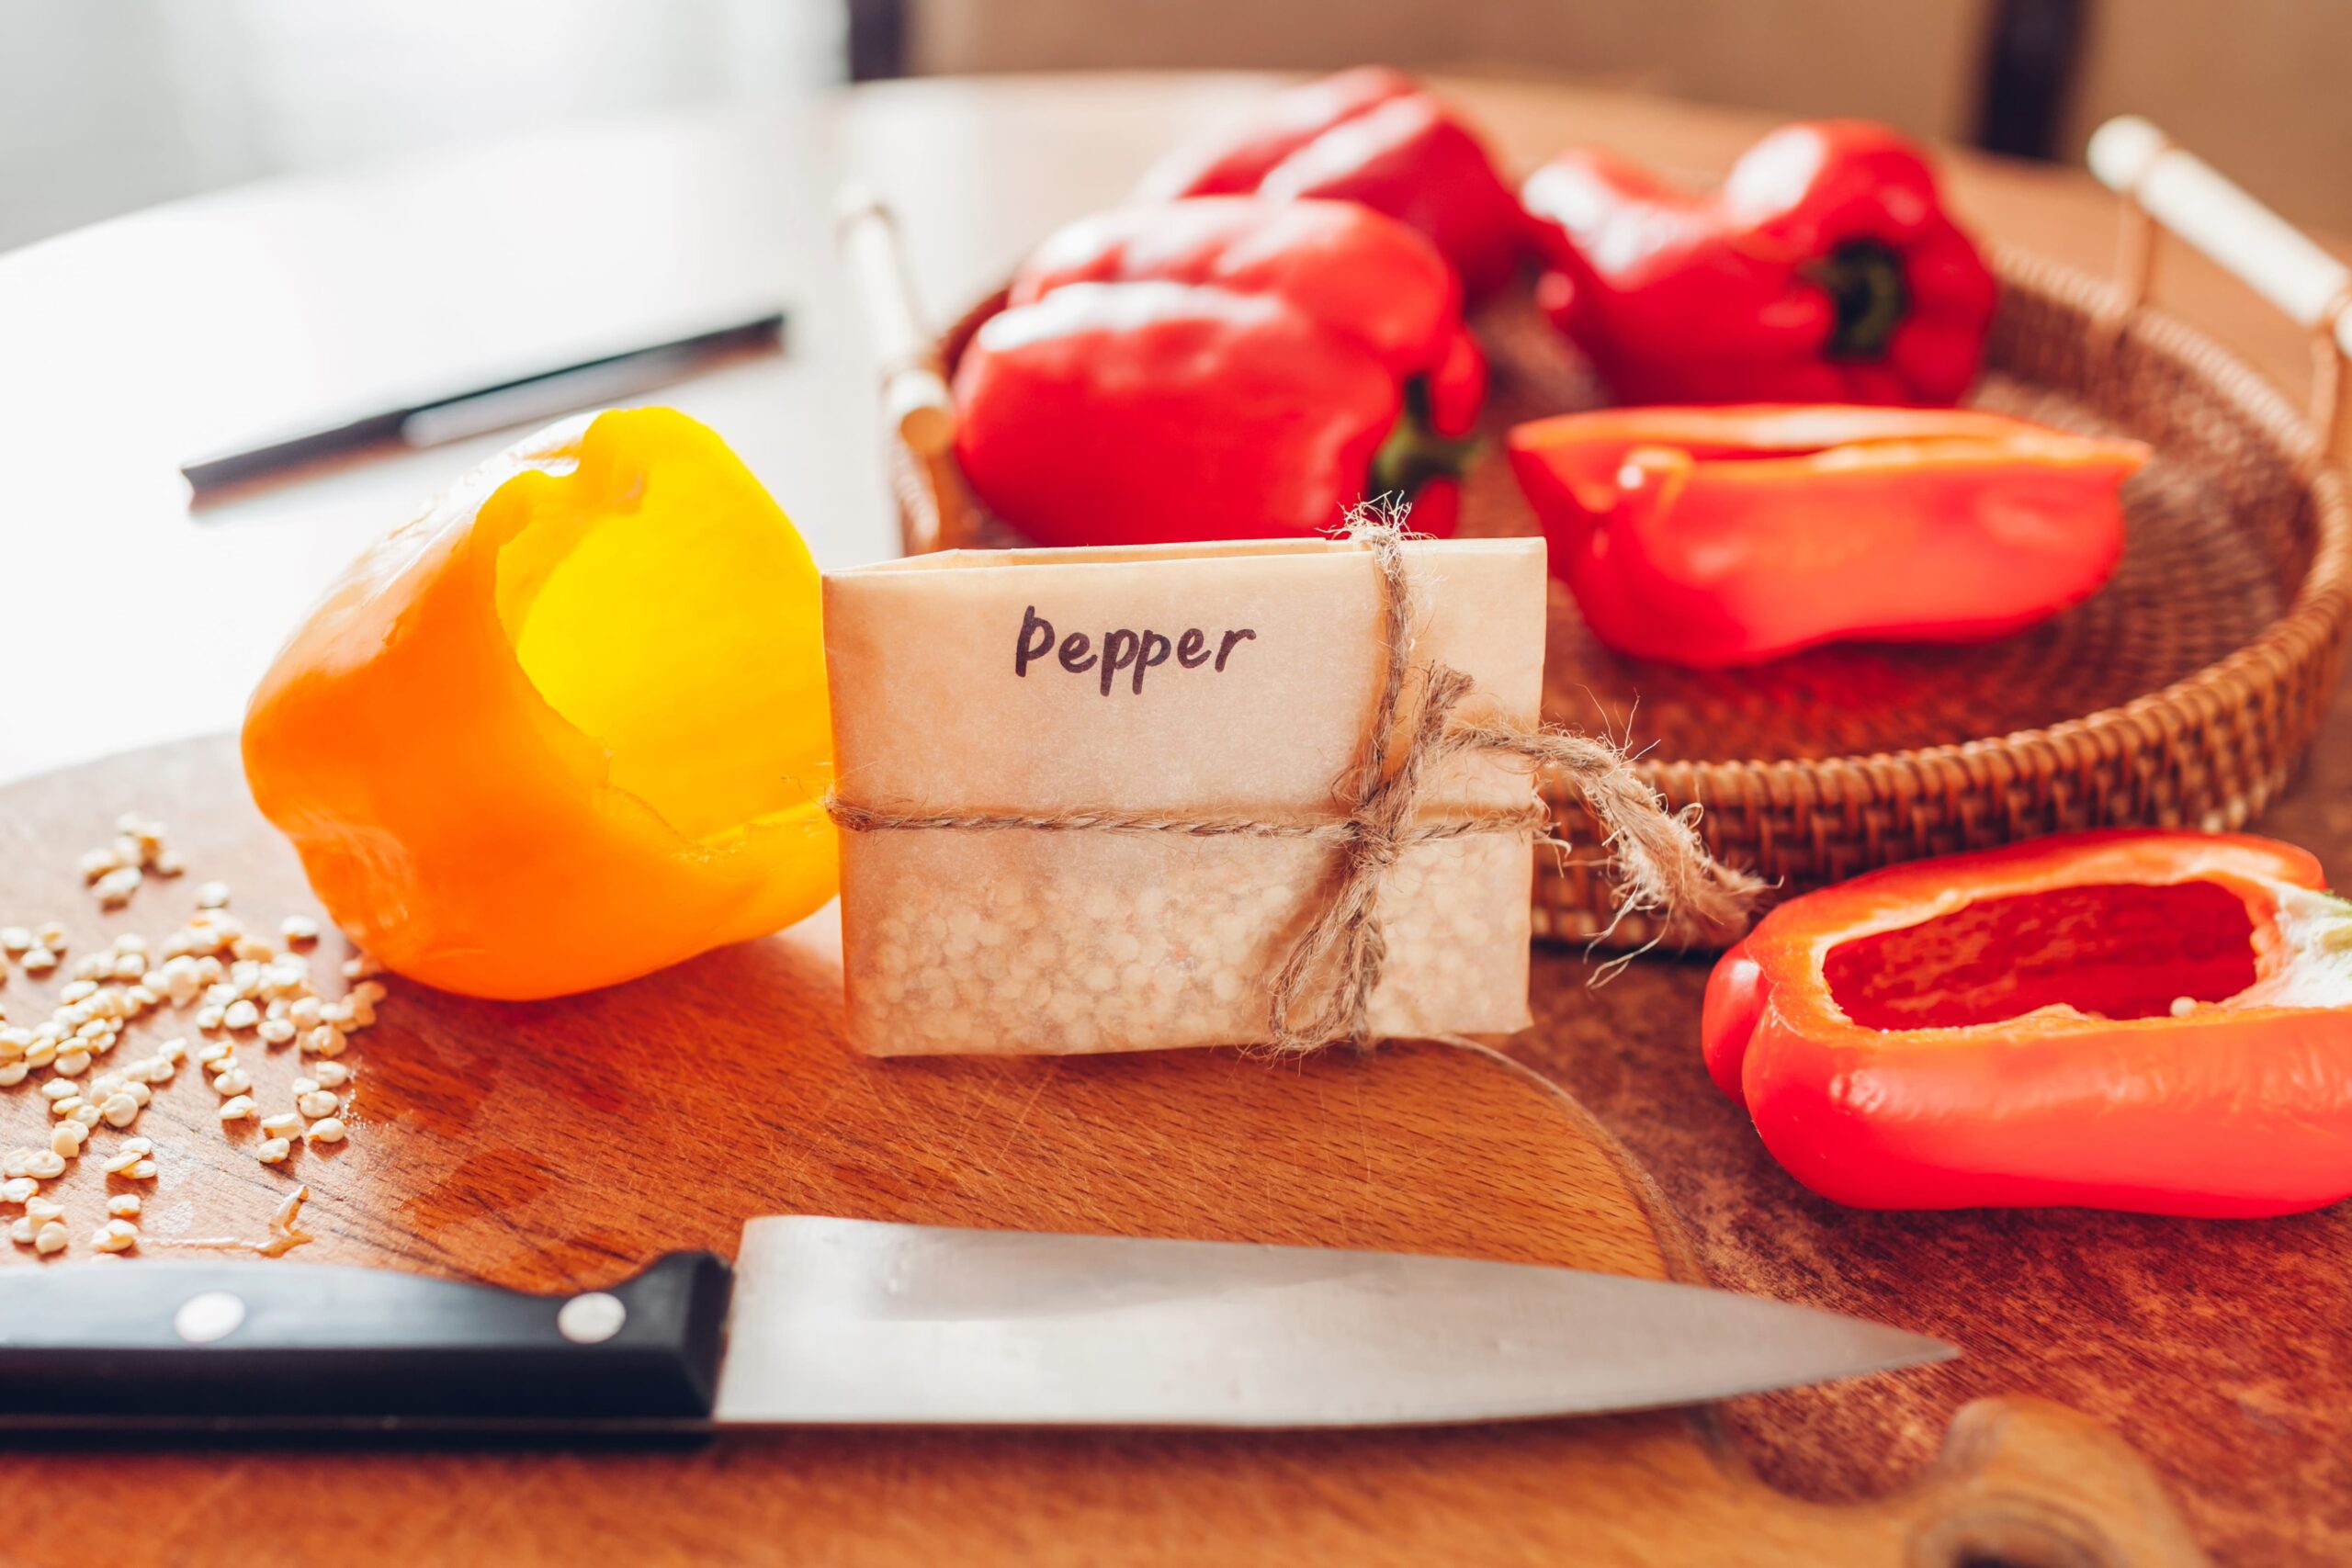
a. Tomatoes, Peppers, Cucumbers: Scoop out the seeds from fully ripe fruits and rinse them to remove any pulp. For tomatoes, ferment the seeds by letting them sit in a container of water for a few days before rinsing, which helps remove the gel coating around the seeds.
b. Beans, Peas, Lettuce: Allow the seed pods to dry on the plant, then collect them. Gently break open the pods and remove the seeds.
c. Flowers and Herbs: Collect the dry seed heads by hand or by gently shaking them into a container. You may need to break open the seed heads to release the seeds.
Always collect seeds on a dry day, as moisture can encourage mold and rot during storage.
Step 4: Clean and Dry the Seeds
After collecting your seeds, they need to be cleaned and dried before storage. Cleaning seeds helps remove any debris, plant material, or fruit pulp that could lead to mold or rot.
a. Cleaning Seeds: Rinse seeds that were collected from fleshy fruits like tomatoes and cucumbers. For seeds from dry seed heads or pods, simply remove any excess plant material.
b. Drying Seeds: Spread your cleaned seeds in a single layer on a paper towel, screen, or plate, and place them in a cool, dry area out of direct sunlight. Allow the seeds to dry for at least a week, stirring them occasionally to ensure even drying.
Seeds must be completely dry before you store them. Seeds that are stored with even a little moisture can spoil, leading to poor germination rates.
Step 5: Store the Seeds
Proper storage is key to preserving your seeds for future planting. Here’s how to store your seeds so they remain viable for the next gardening season:
a. Choose the Right Containers: Store your seeds in airtight containers, such as glass jars, paper envelopes, or resealable plastic bags. Label each container with the plant name, variety, and the date you collected the seeds.
b. Keep Them Cool and Dry: Store your seeds in a cool, dry place, such as a basement or refrigerator. Temperature fluctuations and moisture can reduce seed viability, so keeping them in a stable environment is important.
c. Monitor Humidity: If you live in a humid area, consider adding a silica gel packet to your seed containers to absorb excess moisture.
When stored properly, most seeds will remain viable for at least a few years, though seed viability decreases over time. Some seeds, like beans and peas, can last up to five years, while others, like onions, are best used within one to two years.
Which Seeds Are Best for Saving?
While many plants produce seeds that can be saved, some are easier for beginners to start with. Here are a few plants that are particularly beginner-friendly for seed saving:
a. Tomatoes: One of the easiest vegetables to save seeds from. Simply scoop out the seeds, rinse, and dry them.
b. Beans and Peas: These plants produce seeds in easy-to-collect pods that can be saved for years.
c. Lettuce: Let a few plants bolt (go to seed), and you’ll have plenty of seeds for next season.
d. Marigolds: These hardy flowers produce a lot of seeds that are easy to collect from dry seed heads.
e. Basil: After flowering, basil plants produce small seeds that are easy to harvest and store.
Avoid saving seeds from hybrid plants if you want consistent results, as they won’t always produce plants with the same characteristics as the parent.
Preparing Your Saved Seeds for Planting
When the next planting season comes around, it’s time to bring your saved seeds to life. Before planting, test the viability of your seeds by sprouting a few on a damp paper towel. If most of the seeds sprout, they’re ready to plant.
For larger seeds like beans, peas, or cucumbers, you can also soak them in water for a few hours before planting to speed up germination.
Conclusion
Saving seeds is a rewarding way to continue the legacy of your best plants and make your gardening practice more sustainable. By following these simple steps—collecting, cleaning, drying, and storing seeds—you’ll be able to enjoy the benefits of your favorite plants year after year without needing to buy new seeds.
With time and practice, you’ll get the hang of seed saving and might even expand your efforts to save seeds from a wider variety of plants. Whether you’re growing vegetables, herbs, or flowers, seed saving is a skill that connects you to the cycles of nature and helps you become a more self-sufficient gardener.
Happy gardening, and good luck with your seed-saving journey!