Why It’s Important and When to Repot for Optimal Plant Health
Repotting your plants is an essential part of plant care that ensures they have enough space to grow, access fresh nutrients, and maintain overall health. As plants mature, they outgrow their containers, and their roots can become pot-bound, which stunts growth and affects their ability to absorb water and nutrients. Knowing when and how to repot plants is key to promoting healthier growth and preventing potential issues.
In this guide, we’ll walk you through the step-by-step process of repotting your plants, explain why it’s important, and help you understand when it’s the right time to repot.
Why Repotting is Important
Over time, plants deplete the nutrients in their soil, and their roots may outgrow their pots, becoming root-bound. This means the roots start circling around the inside of the container, leaving little room for new growth or proper absorption of water and nutrients.
Here are the key benefits of repotting:
1. Prevents Root Bound Stress: Repotting provides extra space for roots to spread out and grow, which supports healthier plant development.
2. Refreshes Nutrient Supply: New potting mix is rich in nutrients, giving plants a fresh boost to continue growing vigorously.
3. Improves Drainage: Over time, old soil can compact and reduce drainage. Repotting ensures plants have well-draining soil, which is crucial for preventing root rot.
4. Boosts Growth: Giving plants more space and fresh soil encourages new growth and helps them thrive.
When to Repot Your Plants
Knowing when to repot your plants is essential for their long-term health. Here are a few signs that your plant is ready for repotting:
1. Roots Are Growing Out of the Drainage Holes: If you see roots poking out of the bottom of the pot, it’s a sign the plant has outgrown its current container.
2. Roots Are Circling Inside the Pot: Gently remove the plant from its pot—if you see a dense web of roots circling the root ball, the plant is root-bound and needs more space.
3. Water Is Draining Too Quickly or Slowly: Compacted soil can lead to poor drainage, either causing water to sit on the surface or drain too quickly without fully hydrating the plant.
4. The Plant Has Stopped Growing: If your plant is no longer growing despite proper care, it may be struggling in a small pot and could benefit from repotting.
5. Soil Looks Depleted: Old, dry, or crusty soil is a sign that nutrients are exhausted, and fresh soil is needed.
For most houseplants, repotting every 1 to 2 years is recommended. The best time to repot is in spring or early summer when plants are actively growing.
Step-by-Step Guide to Repotting Your Plants
Follow these detailed steps to repot your plants and give them a fresh start:
Step 1: Choose the Right Pot
Select a new pot that is 1 to 2 inches larger in diameter than the current one. Avoid choosing a pot that is too large, as excess soil can retain water and lead to root rot. Make sure the new pot has drainage holes to prevent waterlogging.
Step 2: Prepare Fresh Potting Mix
Choose a high-quality potting mix that suits your plant’s needs. For example, cacti and succulents need a well-draining mix, while indoor plants like ferns or pothos prefer a nutrient-rich soil blend. Lightly moisten the new potting mix before use to make repotting easier.
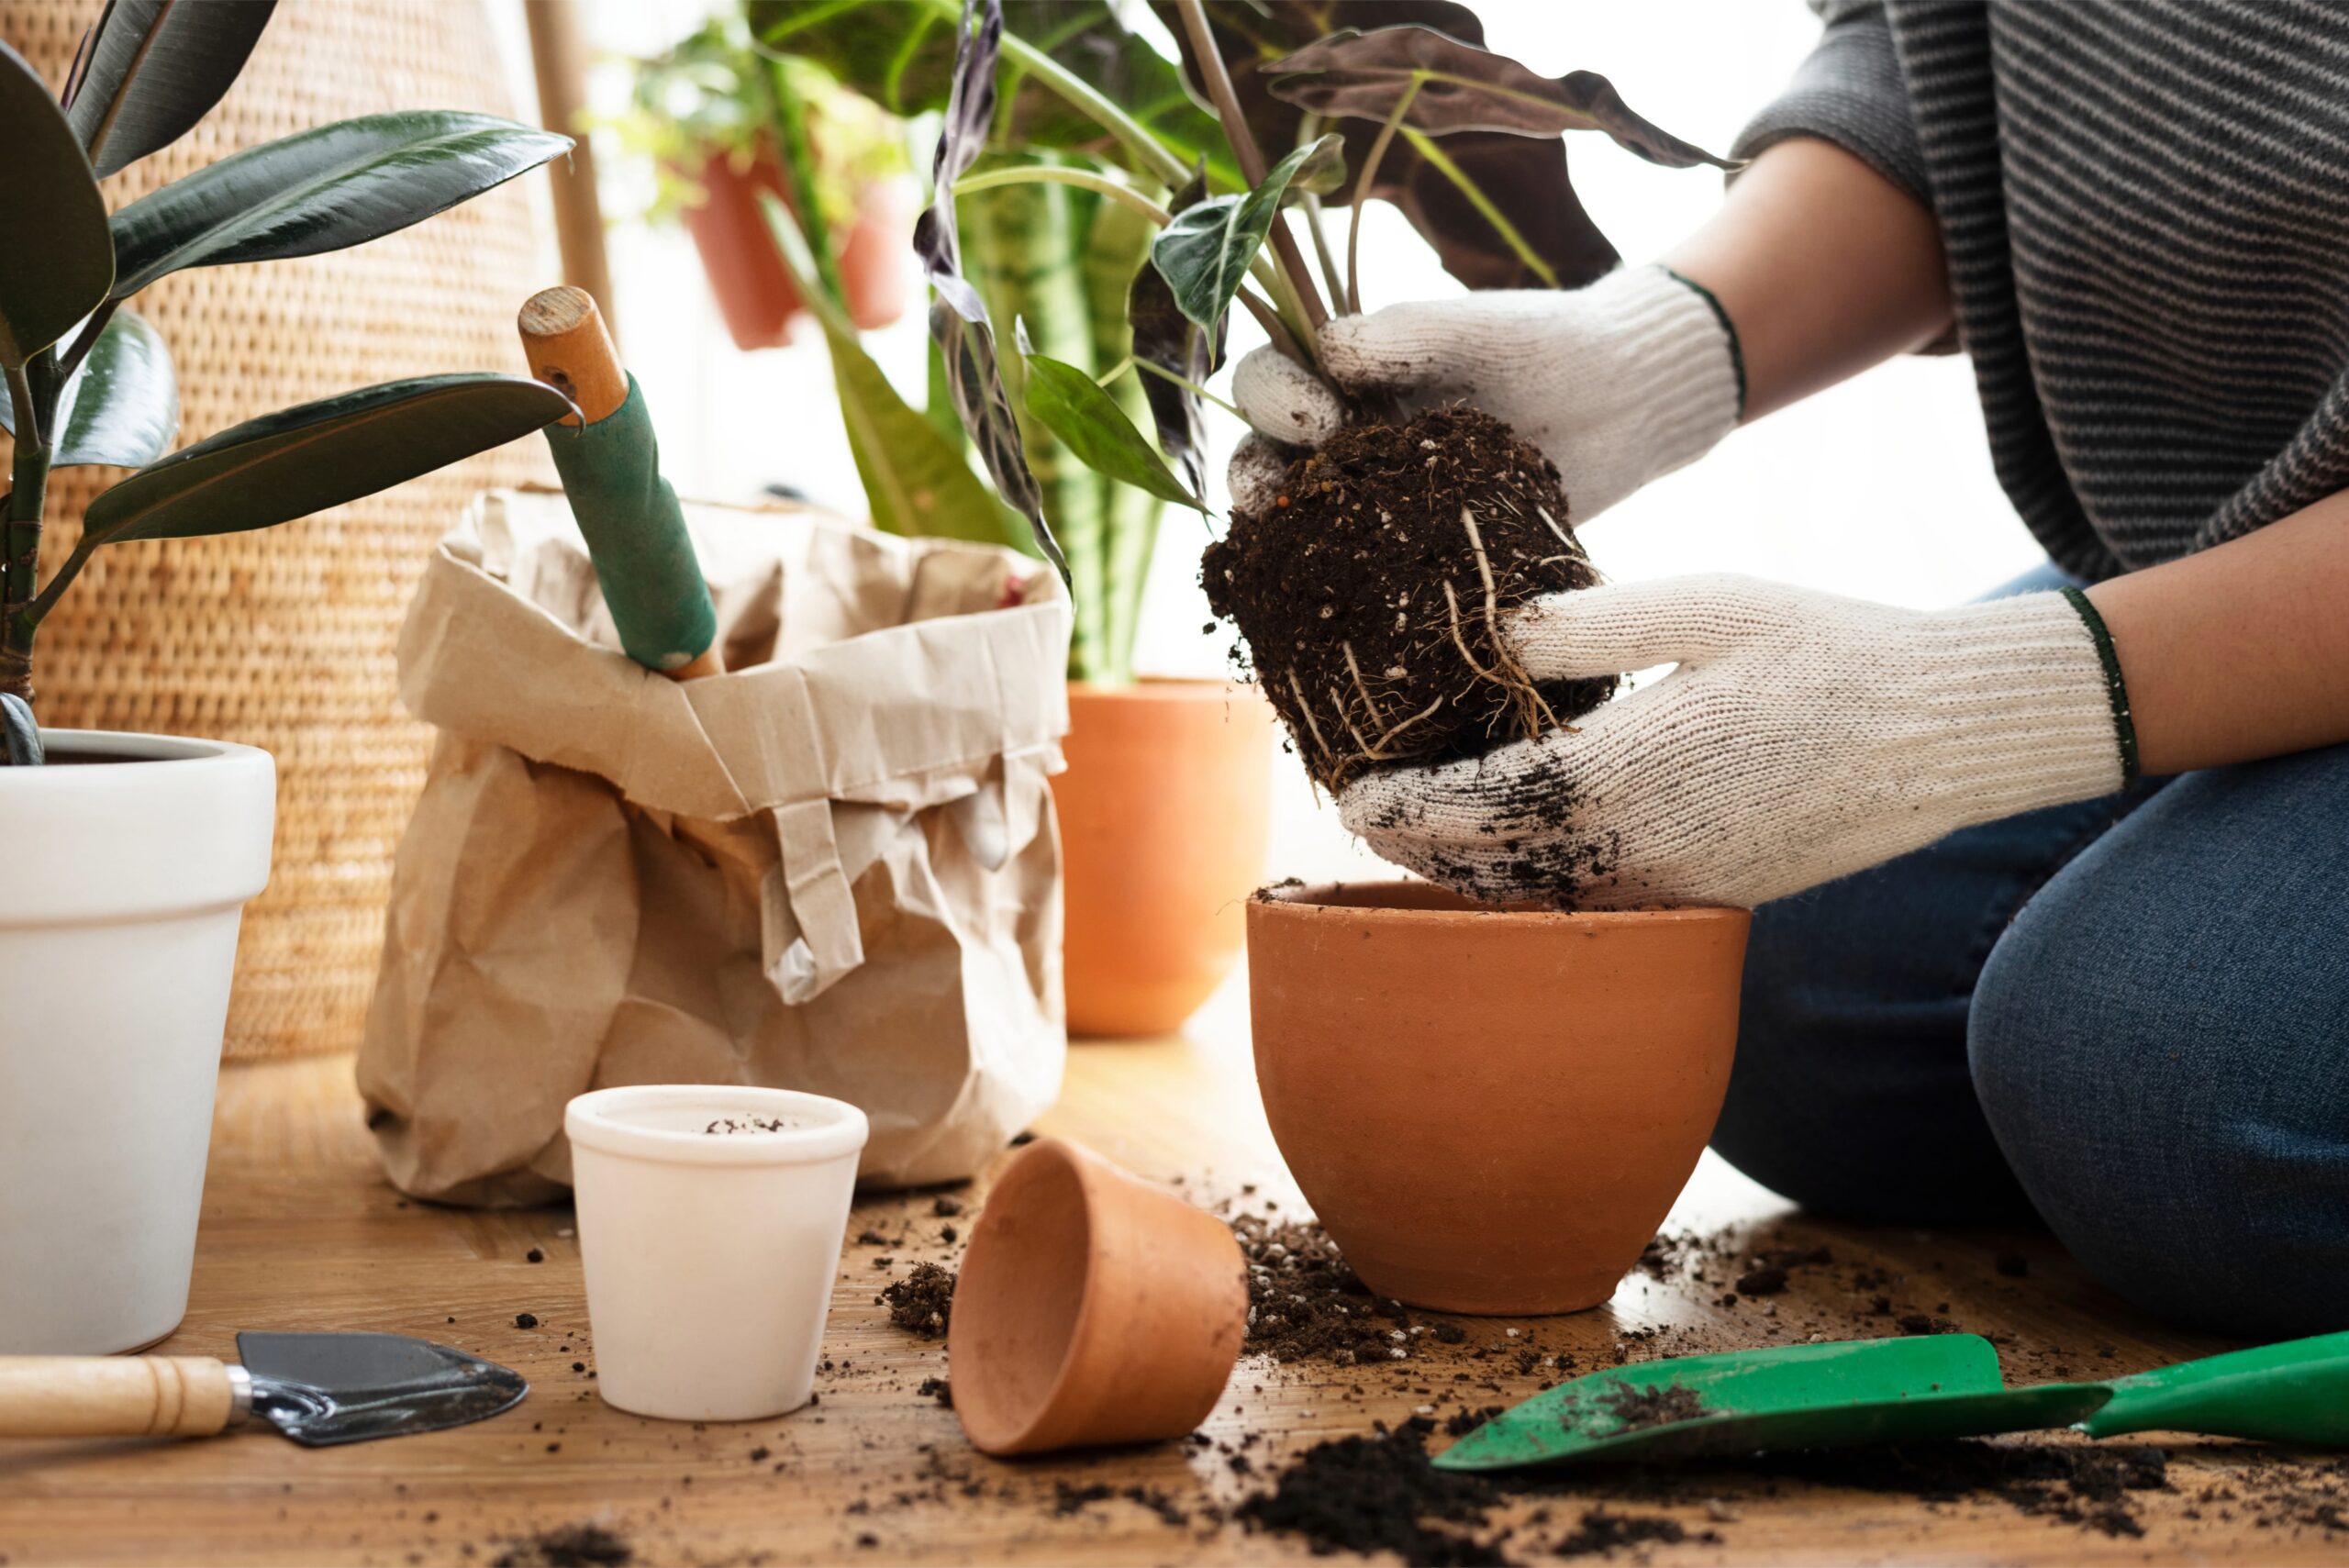
Step 3: Gently Remove the Plant from Its Old Pot
To safely remove your plant:
Hold the base of the plant and gently tip the pot sideways, tapping the sides to loosen the root ball.
If the plant is stuck, use a butter knife or a similar tool to carefully loosen the edges.
Be cautious not to pull too hard on the stems or leaves, as this could damage the plant.
Step 4: Inspect the Roots
Examine the roots for any signs of overcrowding, damage, or rot. Healthy roots should be white or light tan. If the roots are brown, mushy, or tangled, trim them with sterilized scissors or pruning shears.
For Root-Bound Plants: If the roots are tightly coiled, gently tease them apart to encourage better growth in the new pot.
Step 5: Add Potting Mix to the New Pot
Place a layer of fresh potting mix at the bottom of the new pot, ensuring there’s enough space for the plant to sit at the same depth it was in its previous pot. Aim to leave about an inch of space below the rim of the pot for watering.
Step 6: Position the Plant in the New Pot
Place the plant in the center of the new pot, holding it upright while adding potting mix around the sides. Lightly press down the soil to eliminate air pockets, but avoid compacting it too tightly, as roots need space to breathe and grow.
Step 7: Water Thoroughly
After repotting, water the plant thoroughly to help settle the soil and hydrate the roots. Ensure excess water drains out of the bottom of the pot to prevent root rot.
Step 8: Adjust Care Routine
Your newly repotted plant may need some time to adjust. Keep it in a shaded spot for a few days to reduce transplant shock. After that, resume your regular care routine with appropriate watering, sunlight, and feeding.
Tips for Successful Repotting
1. Don’t Repot Too Often: Most plants prefer staying in the same pot for a while, so only repot when necessary.
2. Use the Right Soil Mix: Match the potting mix to your plant’s specific needs for best results.
3. Water Carefully After Repotting: Overwatering a freshly repotted plant can stress it further, so keep an eye on its water needs.
4. Monitor for Stress: Some plants may wilt or drop leaves after repotting due to shock. Give them time to recover and avoid overwatering during this period.
Conclusion
Repotting is an essential task to keep your plants healthy and growing. By providing more space for roots, fresh soil, and a nutrient boost, you’ll ensure your plants continue to thrive. Just remember to follow the steps carefully, choose the right time to repot, and adjust your plant care routine afterward for the best results. With proper repotting, your plants will reward you with vibrant growth and long-lasting health!